Common Mistakes Drivers Make After Switching to LED Headlights
19 March 2026
by Conpex
Reading volume: 766
Upgrading to LED headlights is exciting. The crisp white color, modern appearance, and promise of improved performance make it one of the most popular DIY modifications today.
But here’s the reality: a successful LED upgrade requires more than a simple “plug-and-play” mindset.
Many drivers experience problems not because the bulbs are bad, but because of small installation errors.
These mistakes when installing LED headlights can lead to glare, poor visibility, flickering, and even legal trouble.
Let’s break down the most common mistakes—and how to avoid them.
Mistake 1: Incorrect LED Bulb Orientation
Unlike halogen bulbs, LEDs are directional light sources.
Halogen filaments emit light in nearly 360 degrees, and factory reflectors or projectors are designed around that geometry.
LED bulbs, however, use flat chips that must be positioned correctly inside the housing to mimic the original filament location.
The most common error?
Installing the bulb with the LED chips facing up and down (12 and 6 o’clock) instead of left and right (3 and 9 o’clock).
When orientation is wrong, you may notice:
Distorted headlight beam patterns
Bright hotspots directly in front of the car
Dark zones farther down the road
Increased glare to oncoming drivers
Correct orientation is critical. Always ensure the LED chips face left and right unless the manufacturer specifies otherwise.
Mistake 2: Skipping Headlight Re-Alignment
Many drivers install LEDs and immediately hit the road without checking alignment.
Every time you change a bulb type, you alter the optical focal point—even slightly. That small shift can dramatically affect where the light lands.
Failing to re-aim your headlights can cause:
Blinding glare for other drivers
Reduced long-distance visibility
Uneven road illumination
Inspection failures in strict regions
Proper headlight beam alignment takes only a few minutes:
Park 10–15 feet from a flat wall.
Turn on low beams.
Check the cutoff line height and symmetry.
Adjust vertically if necessary.
Never assume factory alignment remains correct after a bulb change.
Mistake 3: Ignoring CAN Bus & Flickering Issues
Modern vehicles use a CAN bus system to monitor electrical components.
LEDs consume less power than halogens, and that difference can trigger:
Dashboard “bulb out” warnings
Intermittent LED flickering
Headlights shutting off unexpectedly
A common mistake is assuming the LED bulb is defective.
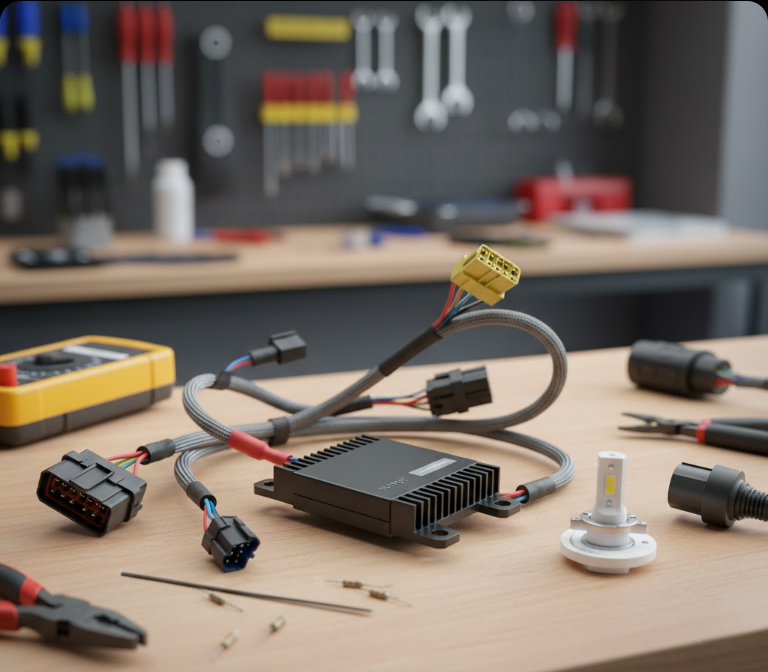
In many cases, the fix is simple:
Install a CAN bus decoder
Use an anti-flicker harness
Choose a vehicle-specific LED kit
Understanding this CAN bus error fix prevents unnecessary returns and frustration.
Mistake 4: Compromising the Dust Cover
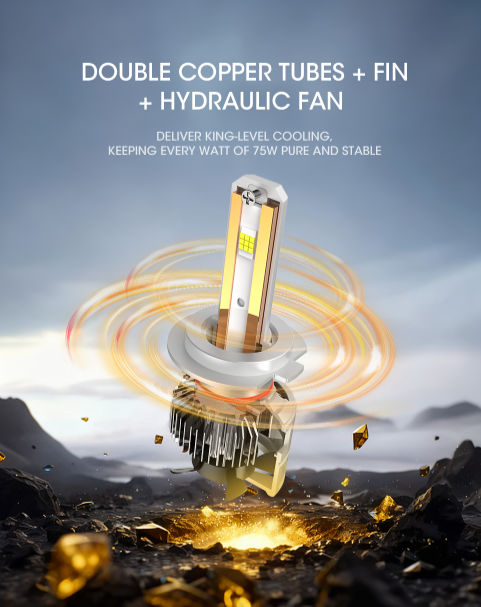
LED bulbs often include cooling fans or large heat sinks. These components can interfere with the factory headlight dust cap.
Two dangerous mistakes happen here:
Leaving the dust cover off entirely
Forcing the cover closed and blocking airflow
Both are problems.
Without the dust cap, moisture and dirt can enter the housing, causing corrosion or fogging.
If the fan is restricted, heat builds up—leading to premature failure.
Always ensure:
Proper clearance for cooling systems
A sealed housing
Adequate ventilation
If necessary, use an extended or modified dust cover designed for LED retrofits.
Final Thoughts
A perfect LED upgrade is about precision, not just power.
Most mistakes when installing LED headlights come down to orientation, alignment, electrical compatibility, and airflow management.
When handled correctly, LEDs can perform beautifully. When rushed, they can create more problems than they solve.
Before hitting the road:
Verify bulb orientation
Re-check beam alignment against a wall
Confirm no flickering or warning lights
Ensure the dust cover is sealed properly
A careful installation protects your visibility—and everyone else’s safety on the road.


